New Luxury Listings Website Walkthrough
Getting Started
Accessing Your Dashboard
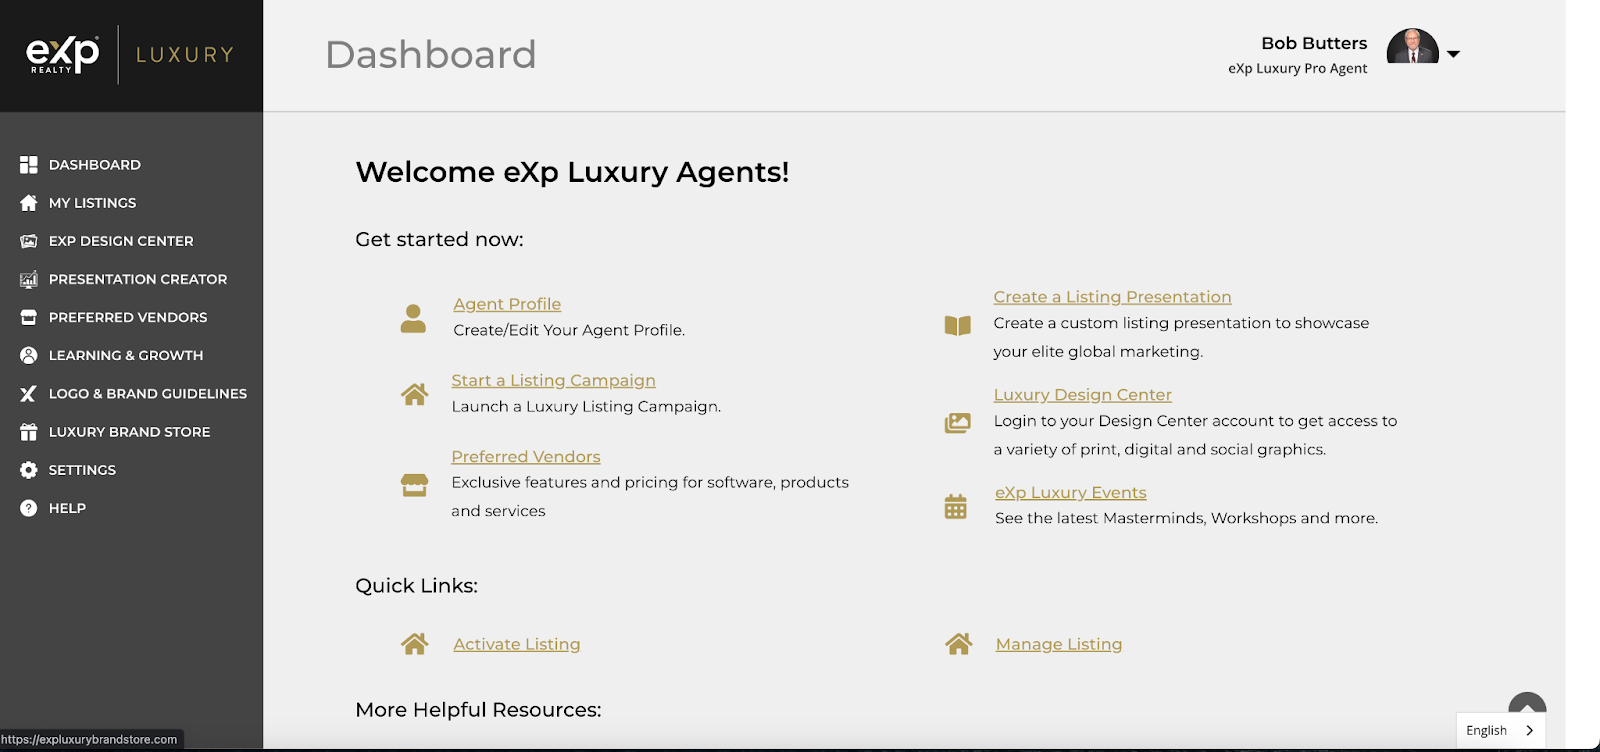
To begin, follow these steps to access your dashboard:
Navigate to your Luxury Dashboard, found in your OKTA account.
Click on My Listings to view all your listings.
Select Manage Listings to make changes or add new listings.
Adding a New Listing
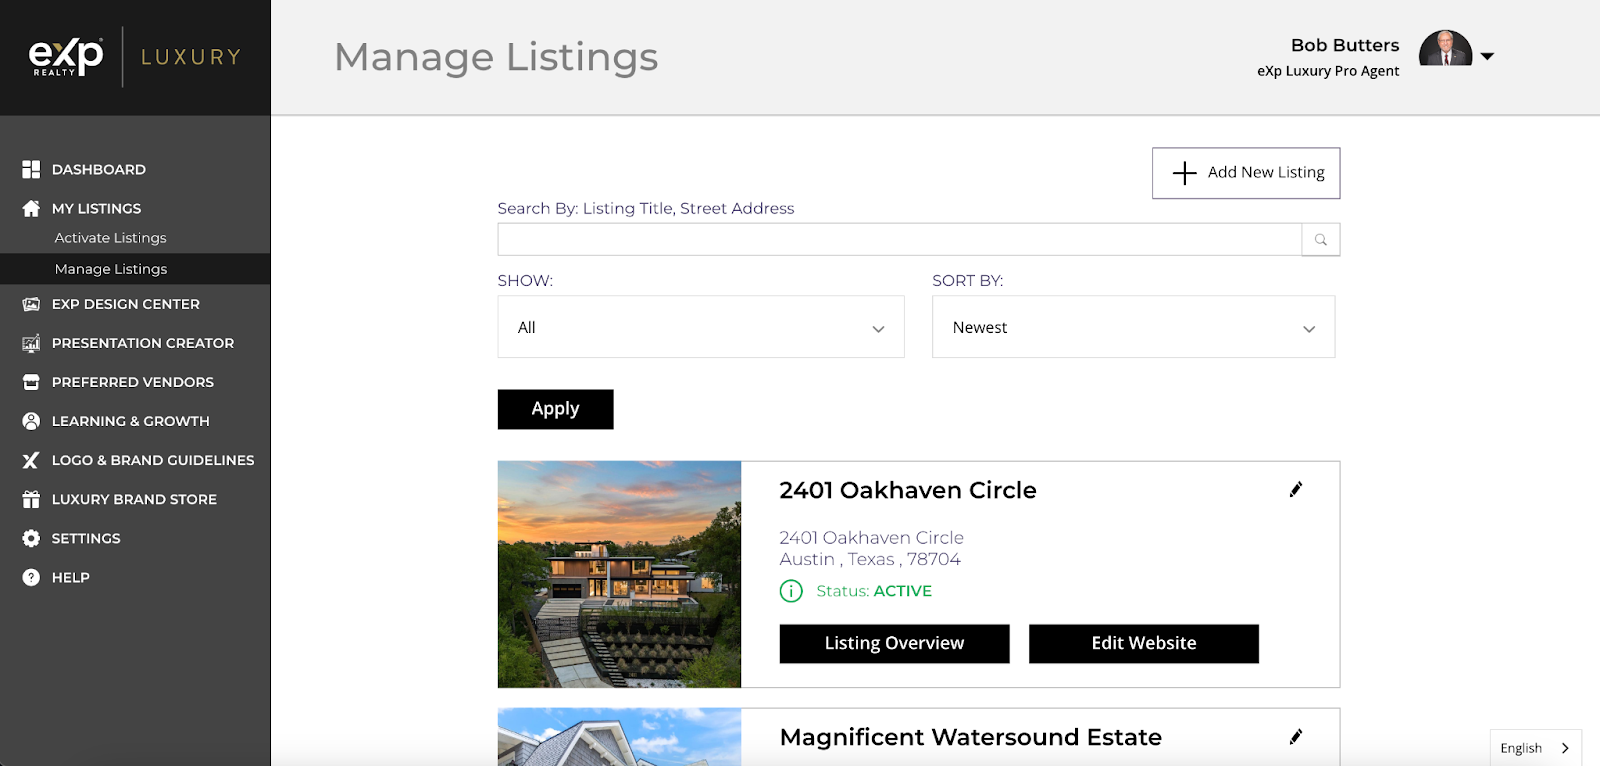
To add a new listing, proceed as follows:
From the Dashboard, go to Manage Listings and click Add New Listing.
Fill in all necessary details about your property. You can also link the listing to the MLS, which will automatically populate the information into our system.
Once completed, click Save and Continue.
Submit the listing for activation to make it live.
Customizing Your Listing
Styling Options
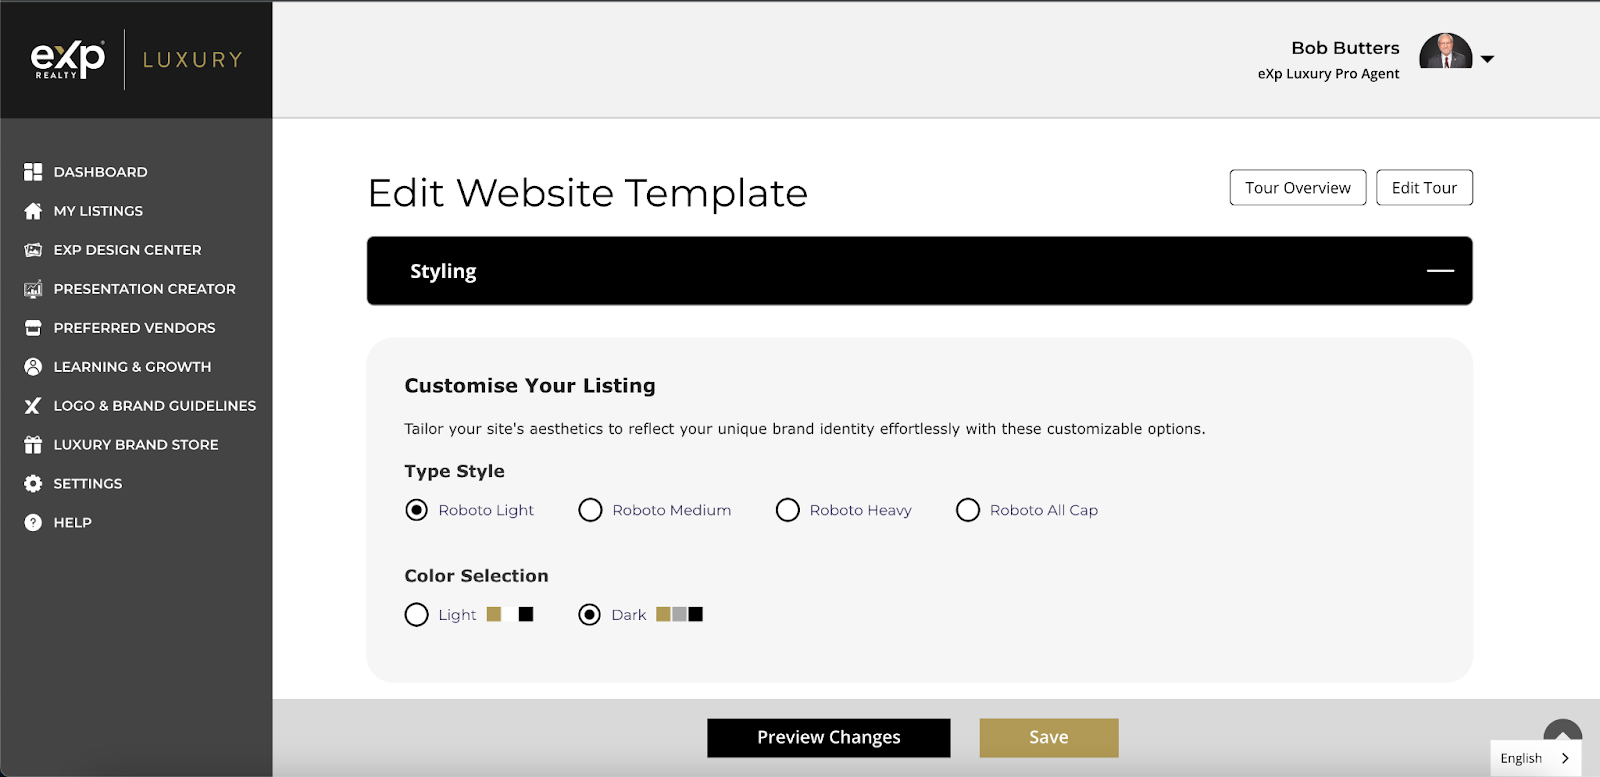
Customize the appearance of your listing site to reflect the luxury and uniqueness of your properties:
Font Choices: Select from Roboto Light, Roboto Medium, Roboto Heavy, and Roboto All Caps.
Theme Selection: Choose between a light or dark theme for your website.
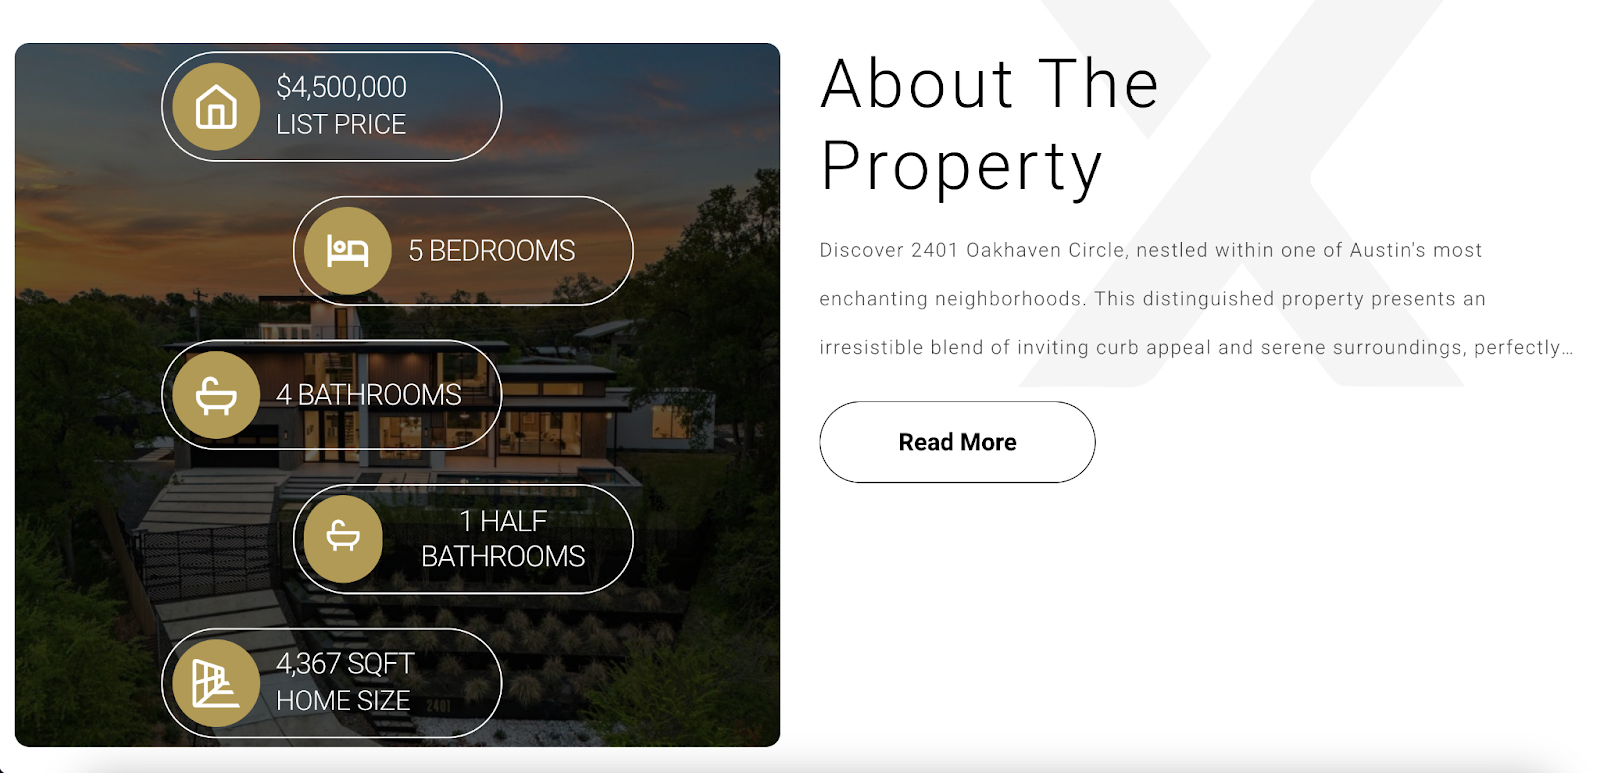
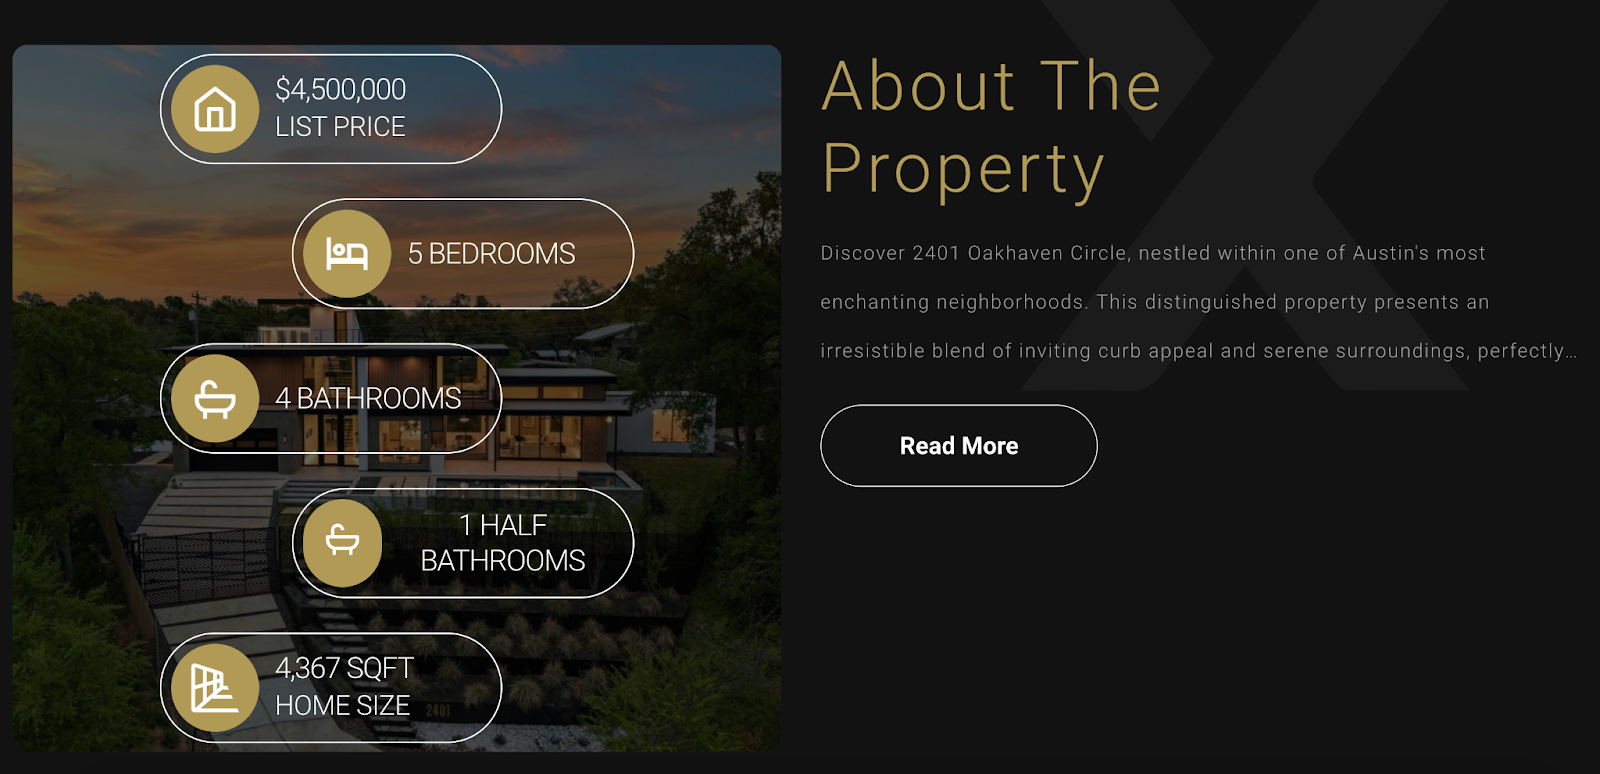
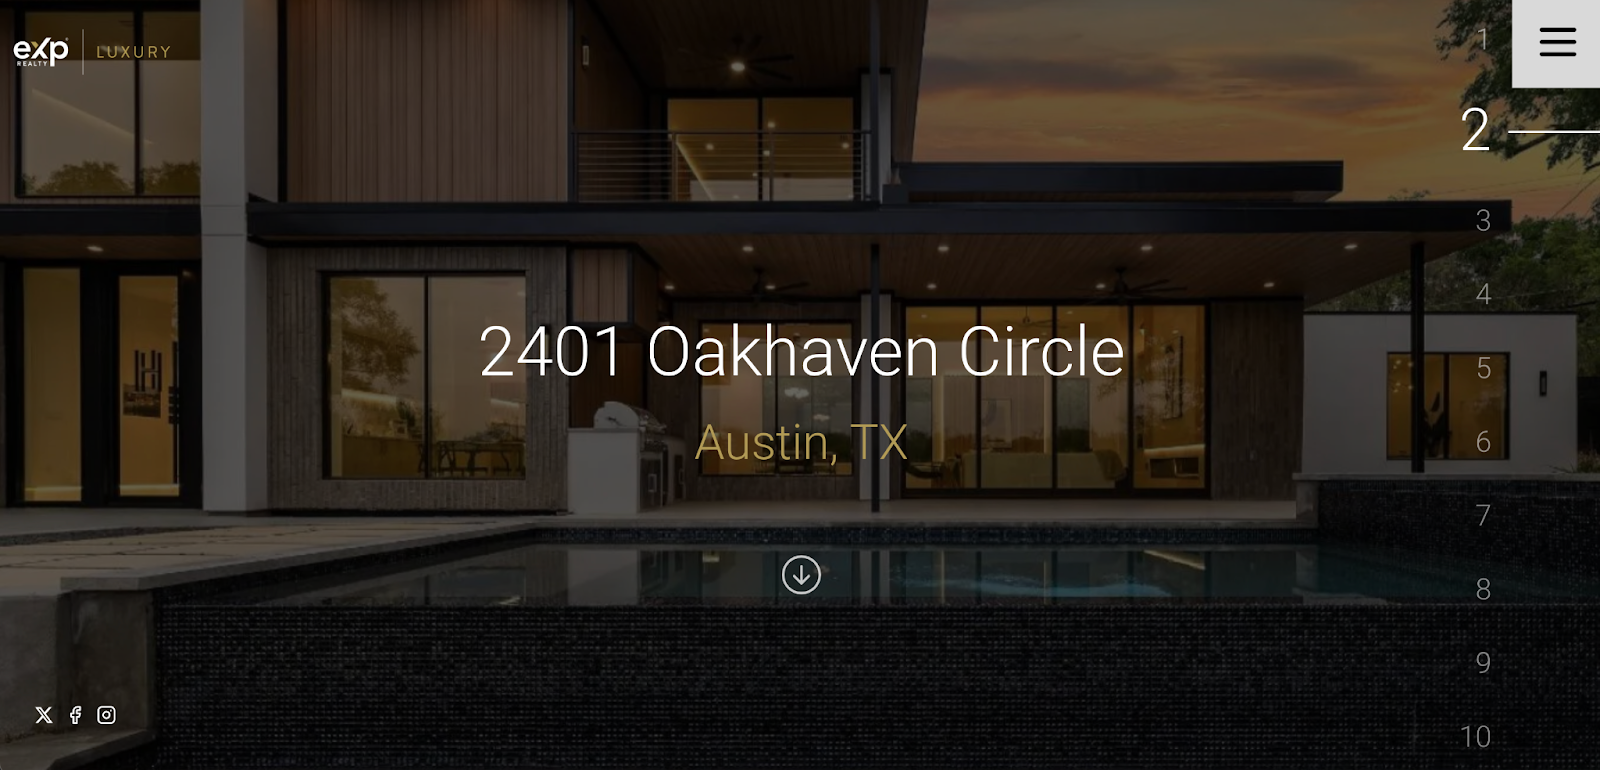
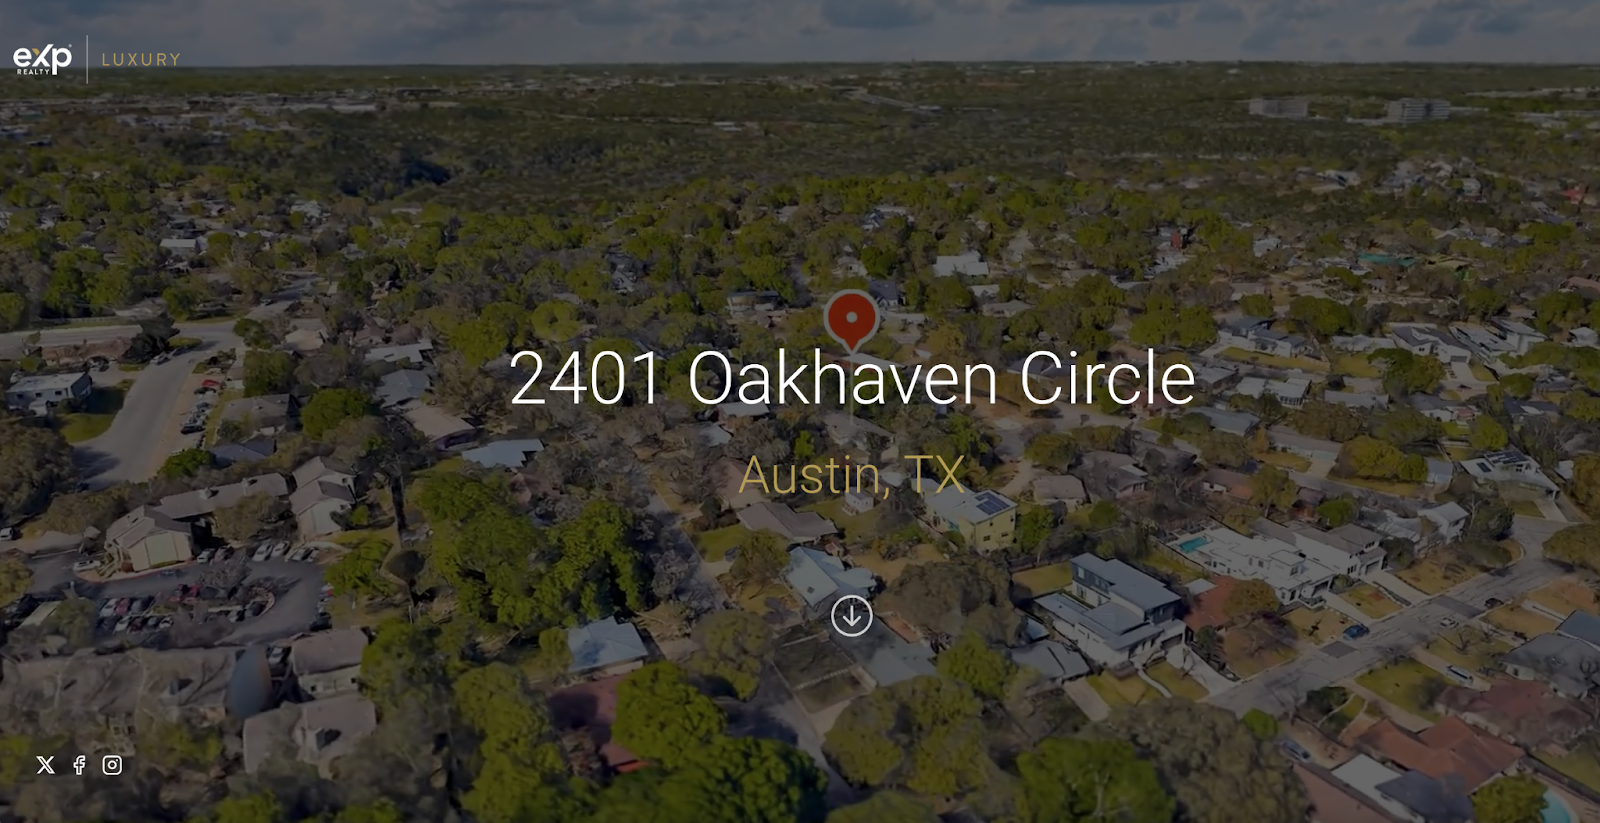
Hero Background: Opt for an image slideshow from your property’s gallery, a property video, or a 3D Earth cast.
Property Features
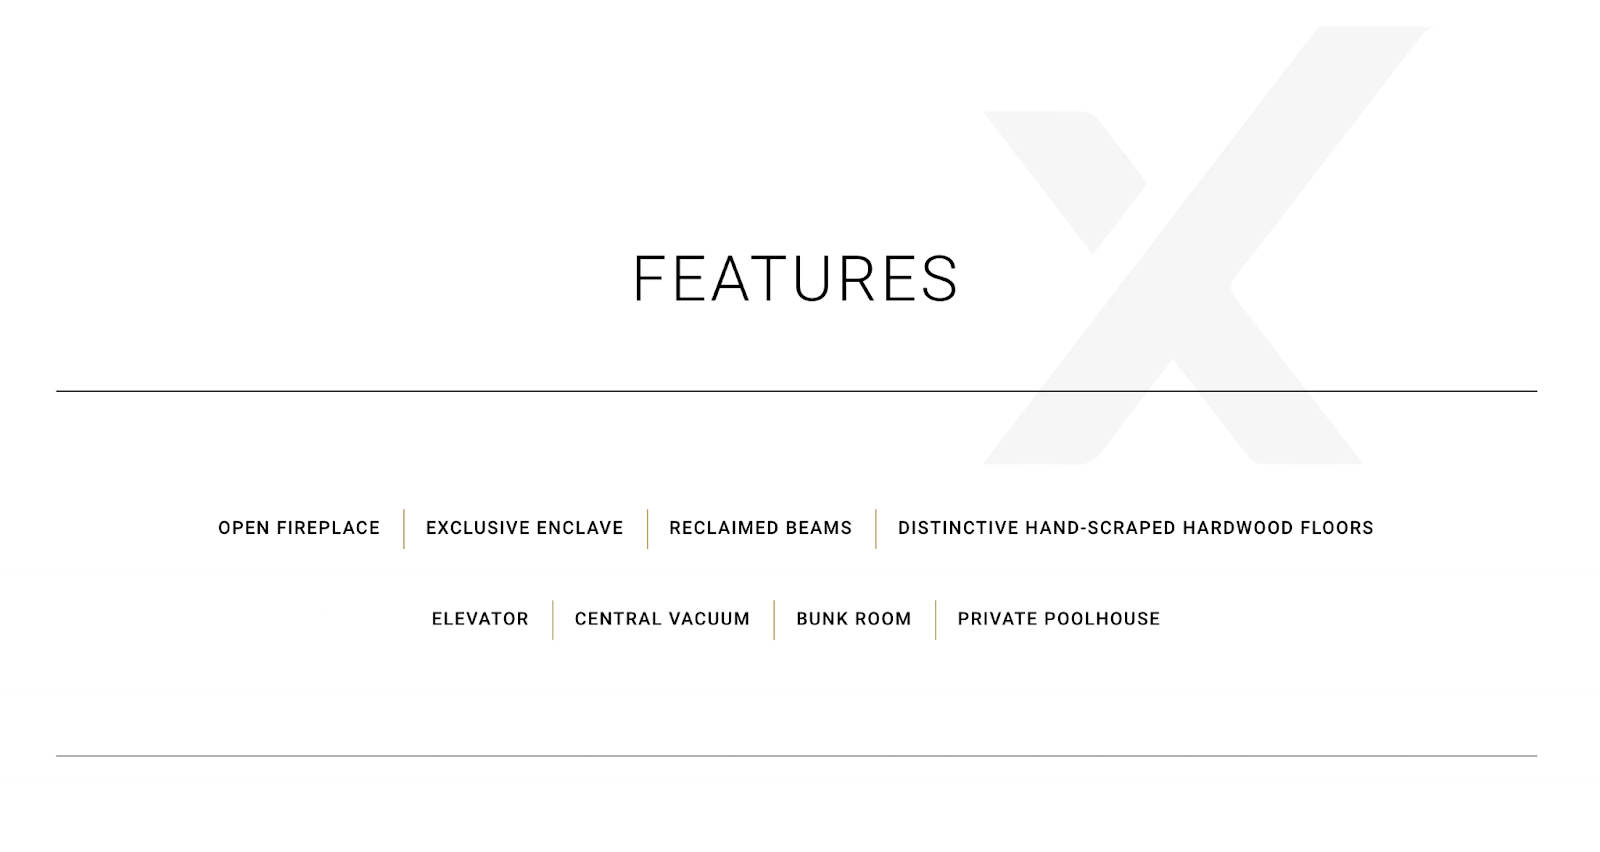
Enhance your listing by adding up to 10 distinctive features:
Add specific location features or unique property characteristics.
These details will appear prominently as part of the website’s design.
Explore Section
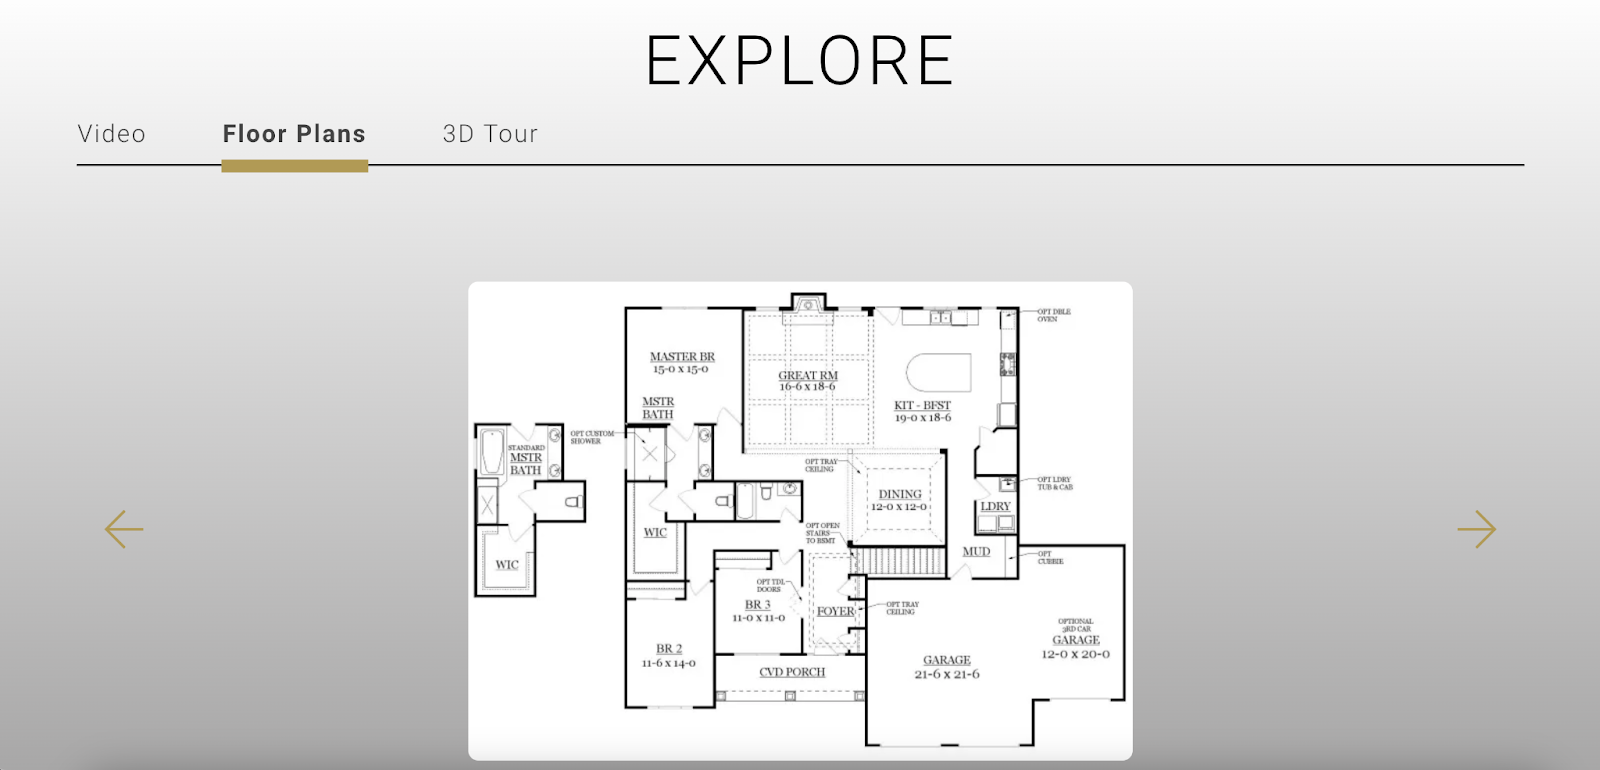
Provide potential buyers with immersive experiences:
3D Tours: Include a Matterport link for virtual walkthroughs.
Floor Plans: Upload JPEGs or PDFs of floor plans with descriptive titles and details.
Videos: Add a custom video (up to 100MB) or provide a video URL (avoid YouTube to prevent unrelated ads).
Advanced Customization
Custom Sections
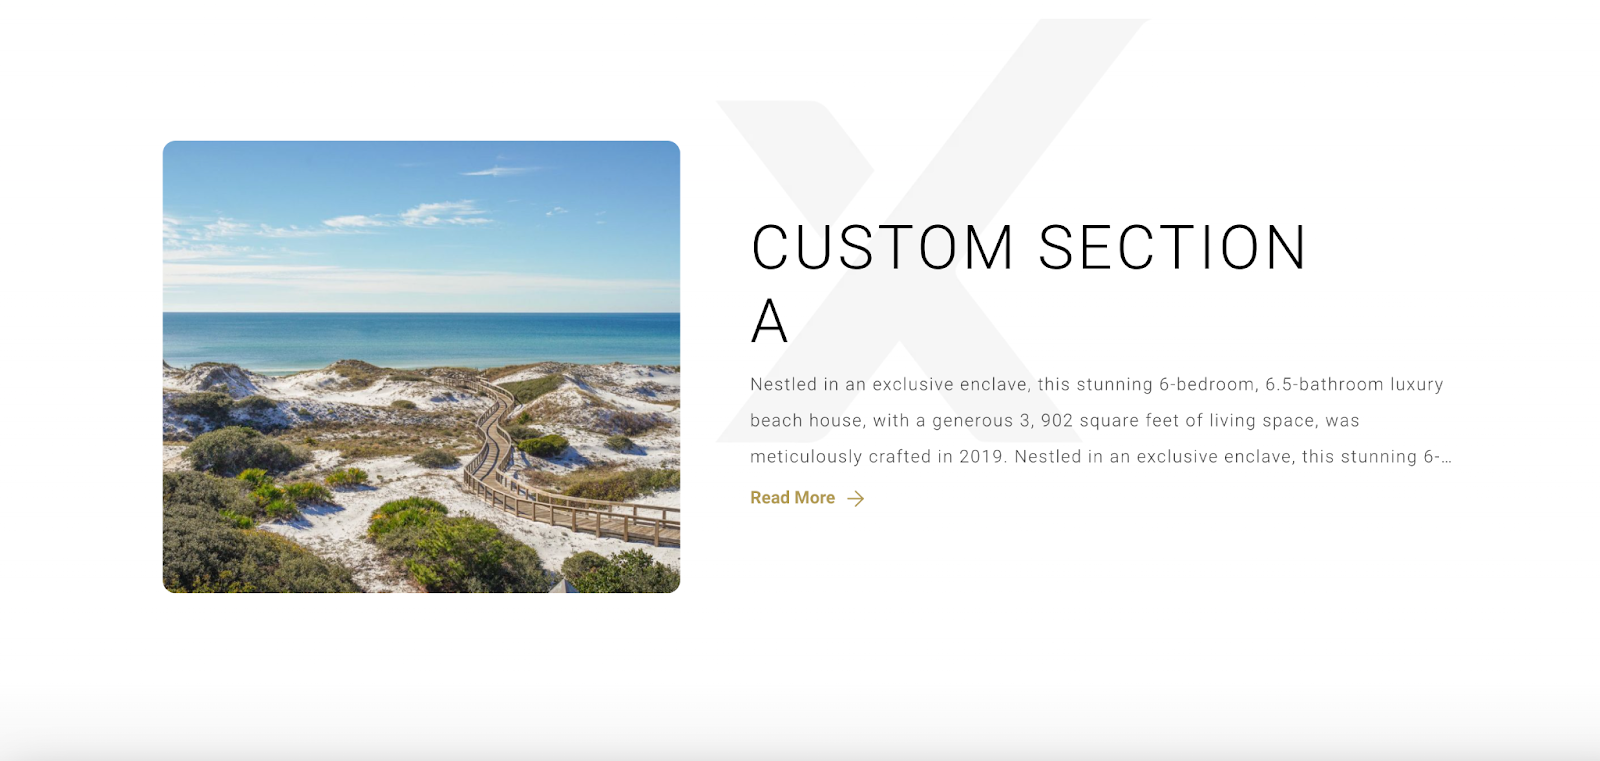
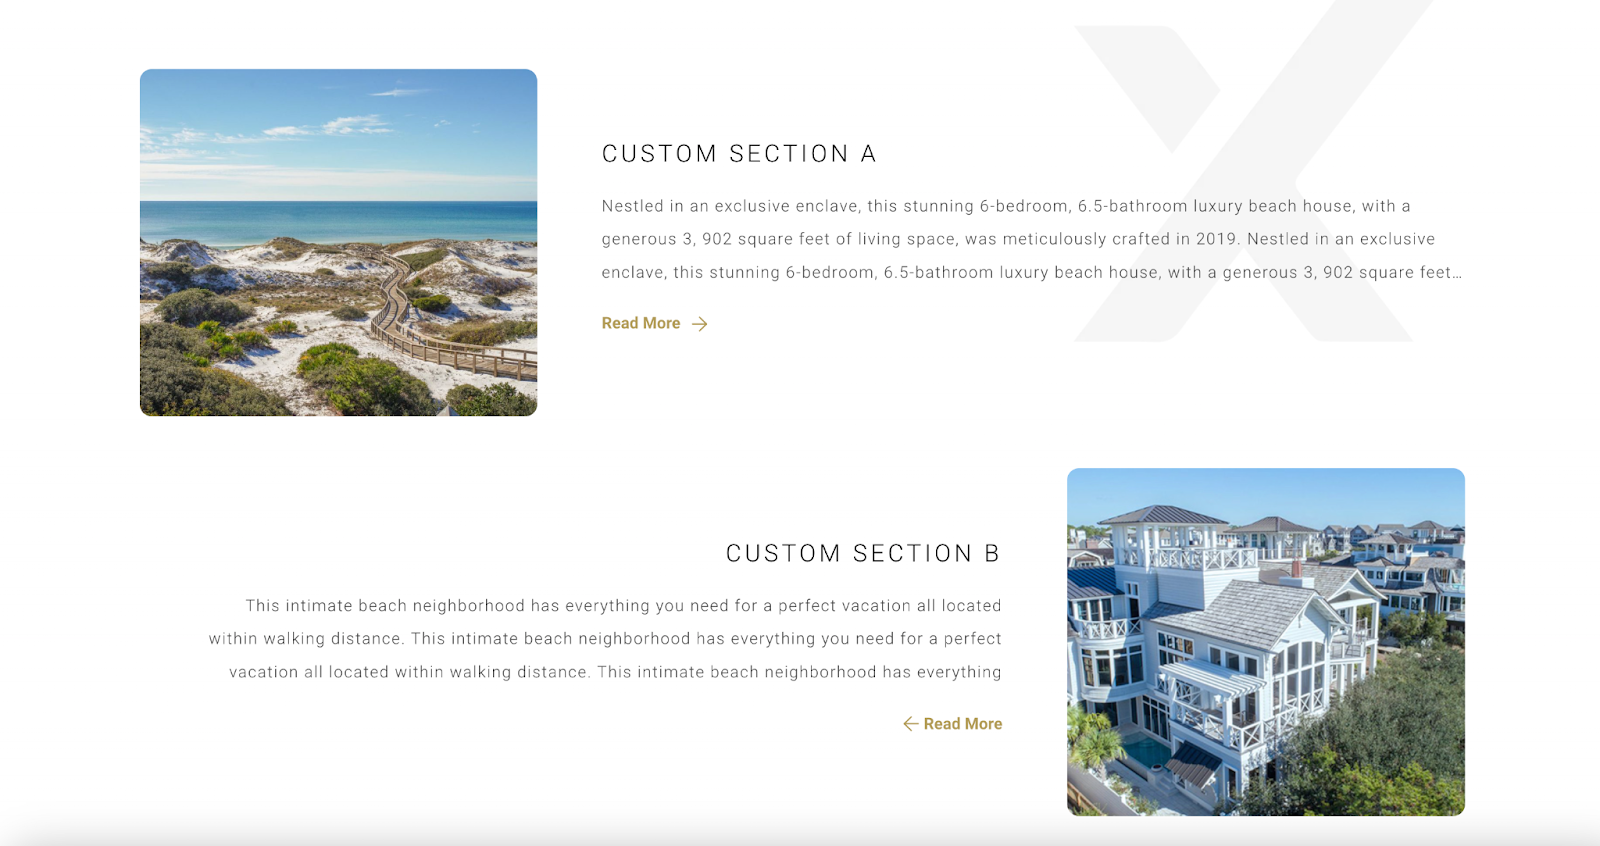
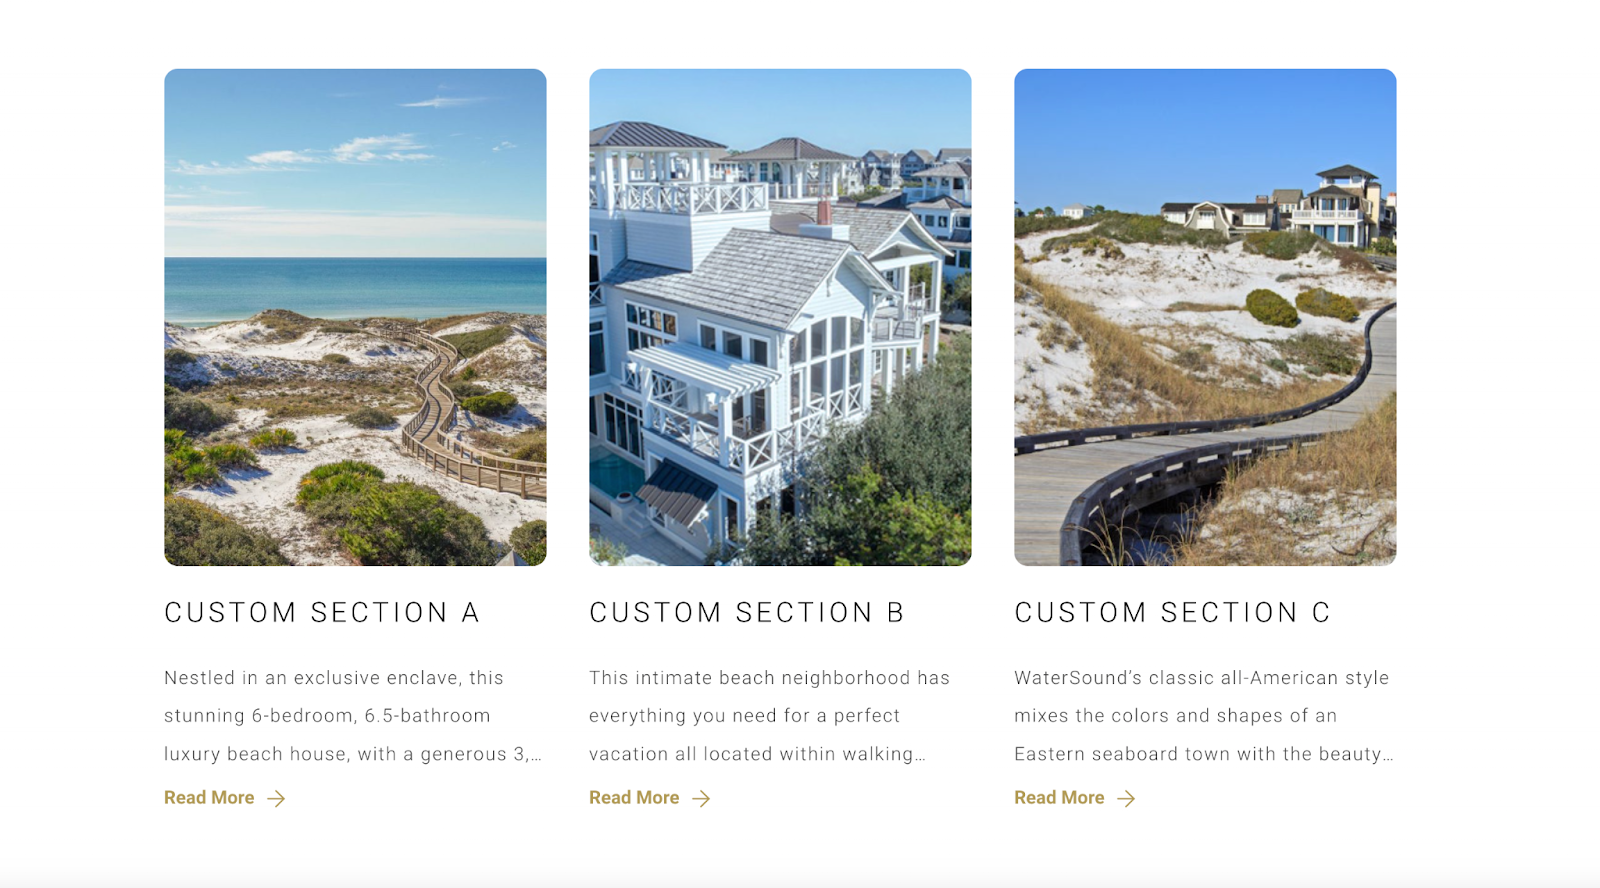
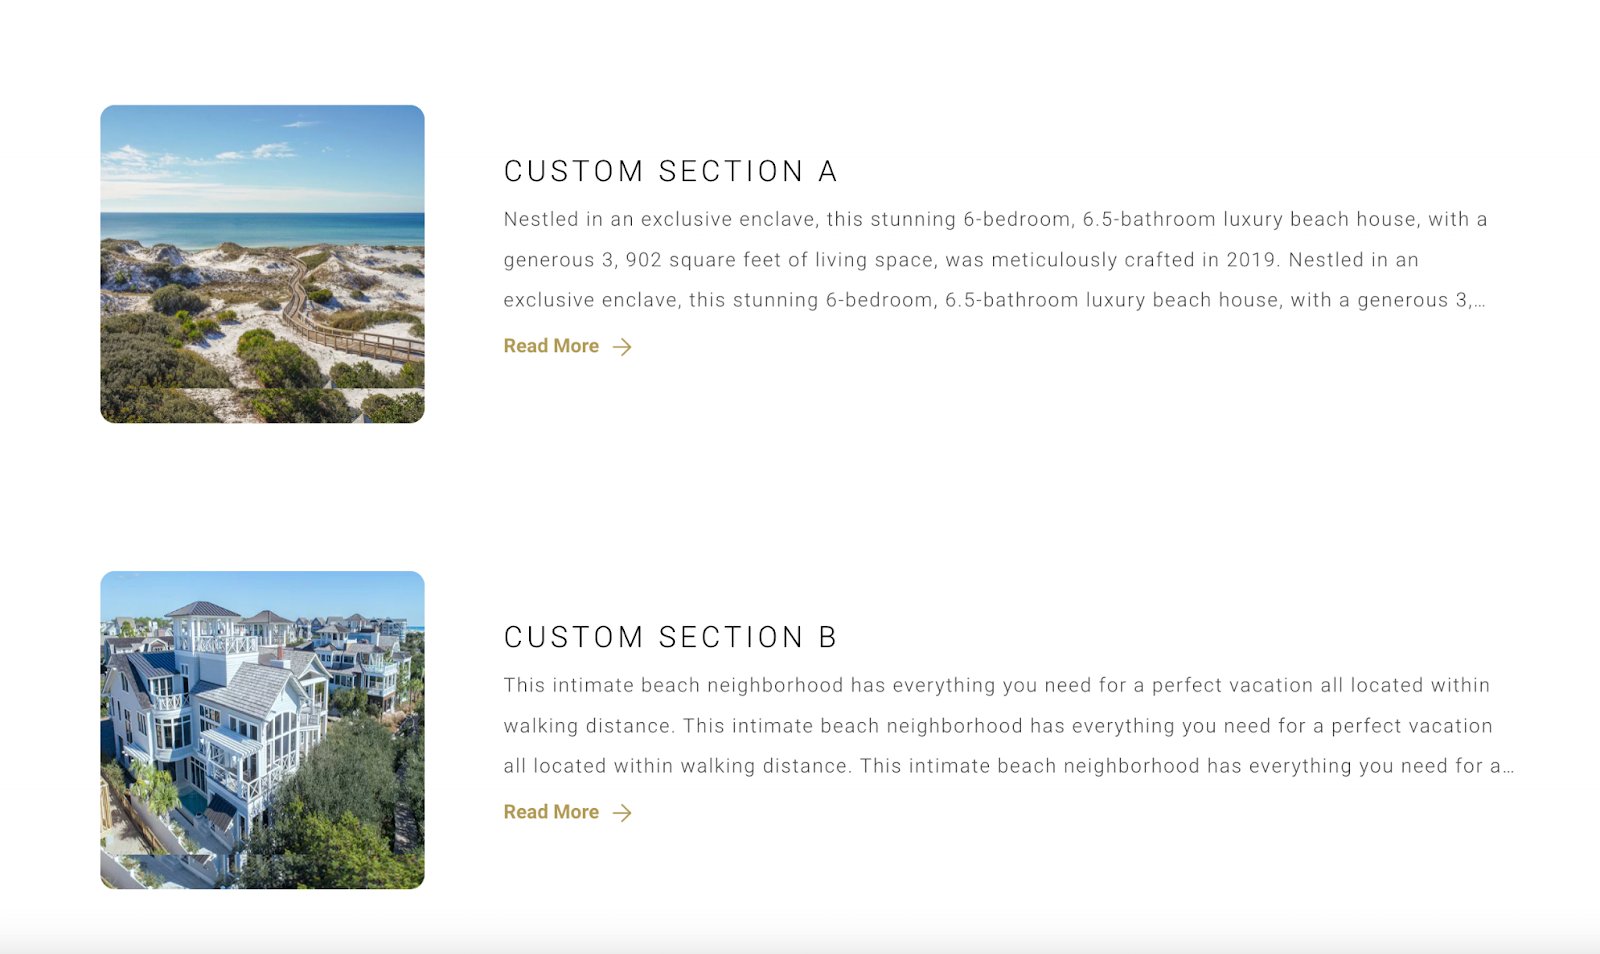
Showcase your properties uniquely using one of four layouts:
Layout 1: Features a large image to the left with a title and text to the right.
Layout 2: Uses smaller images, alternating alignment from left to right with each section.
Layout 3: Displays a carousel of three columns if more sections are added.
Layout 4: Similar to Layout 1 but with smaller images.
Override Preferences
Gain control over default settings to suit specific needs:
3D Google Earth Video: Enable or disable this feature based on the property’s geographic appeal.
Agent Logo: Choose between the default brokerage logo or a custom logo.
Maps: Override the default map location with custom longitude and latitude coordinates if needed.
Managing Agents
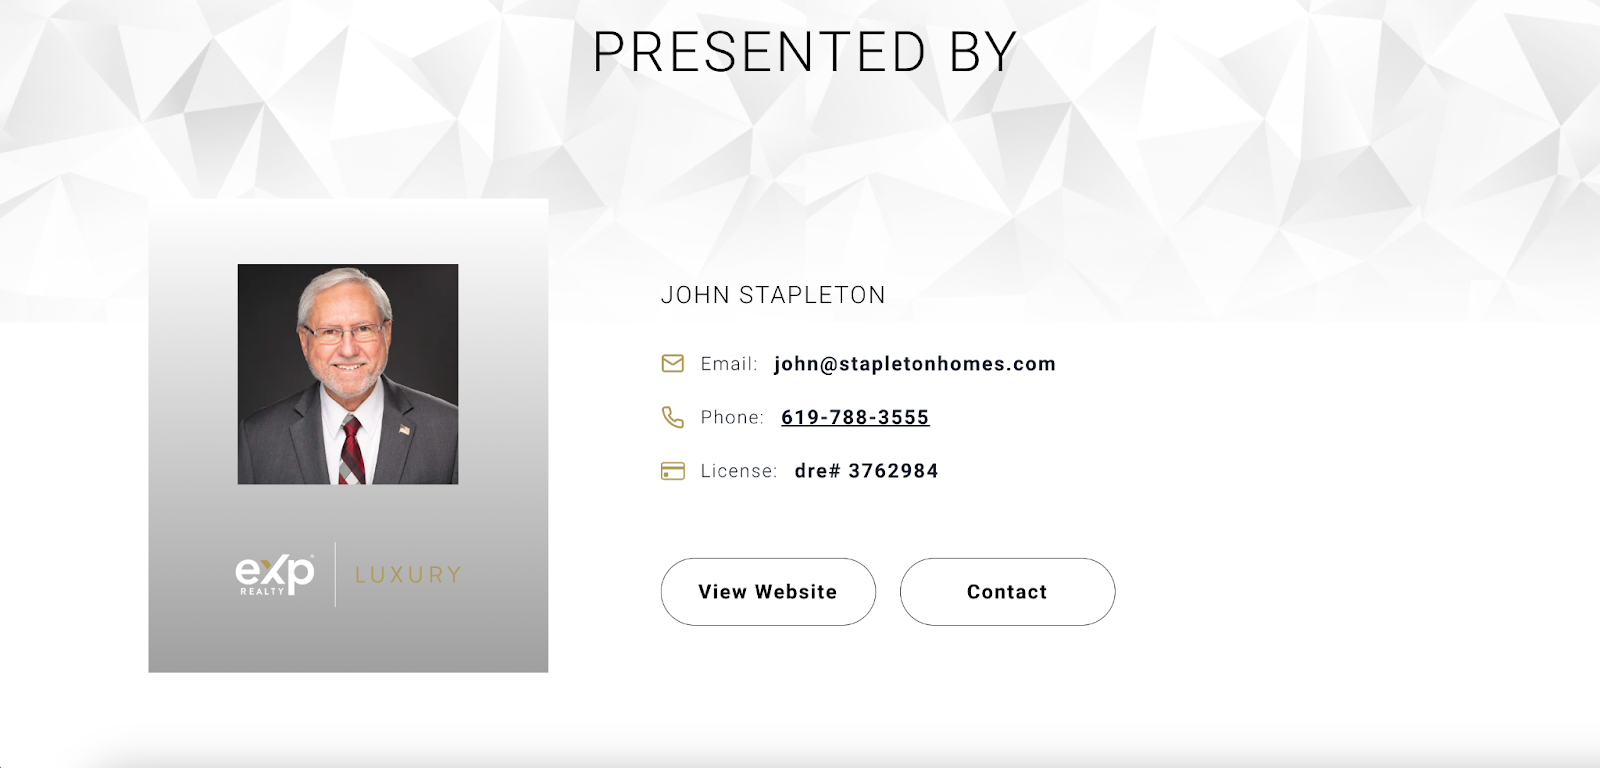
Add co-listing agents to your listings:
This feature is specifically for the website display and does not affect listing advertisements elsewhere.
Setting Custom Subdomains
Customize the subdomain for your listing to enhance recognizability:
By default, the subdomain is the title of your listing. Customize it to better describe your property.
Previewing and Saving Changes
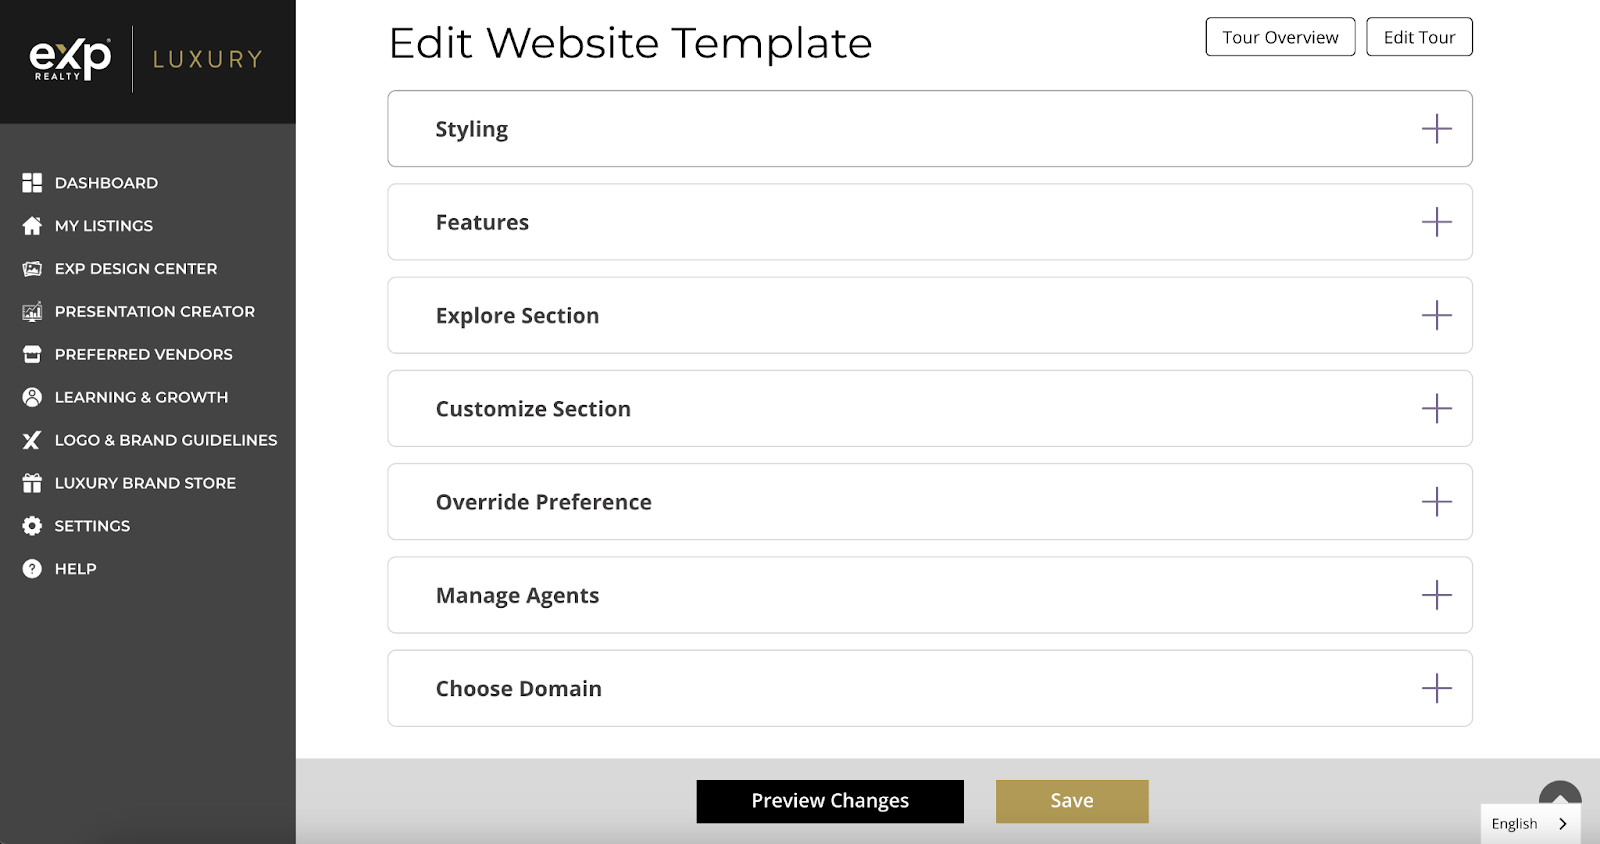
After making all your desired changes:
Click Preview to view your updates in a new tab.
If satisfied, select Save to apply the changes to your listing site.
This tutorial covers the basics of managing and customizing your Luxury Listings Website. Ensure all information is accurate and appealing to showcase your properties in the best light.